Registration Guide: UBC Future Global Leaders On-campus
- Part one: check out
- Part two: information package
- Part three: Campus-wide Login (CWL)
- Part Four: how to pay off your remaining balance
How to register
Before you start: You need a Family Account with your child added as a family member to register. Please see instructions on how to create a Family Account and add a child as a family member.
Registration in the UBC Future Global Leaders on-campus program has three parts:
1. Check out
2. Complete the information package
3. Set up the student Campus-wide Login (CWL)
Part one: check out
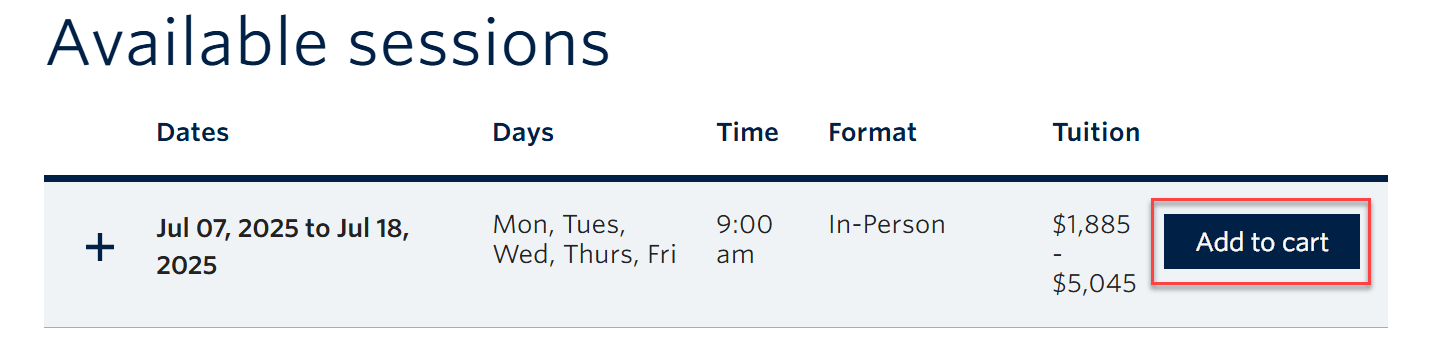
- Add a UBC Future Global Leaders on-campus course or mini school to your cart:
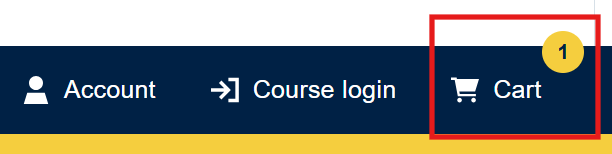
- Go to your cart by clicking on the cart icon in the upper right-hand corner of the webpage:
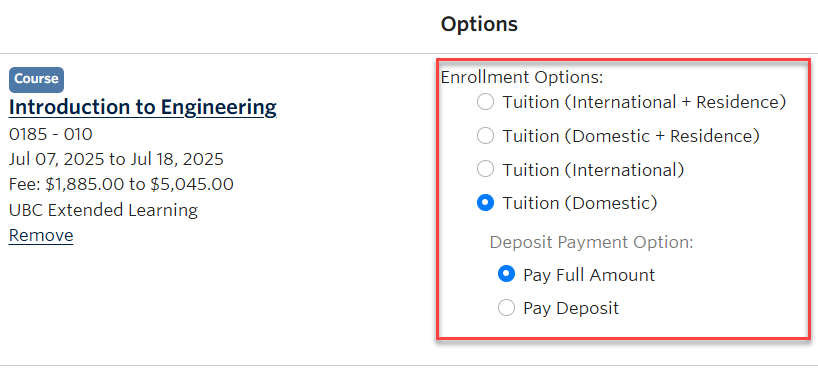
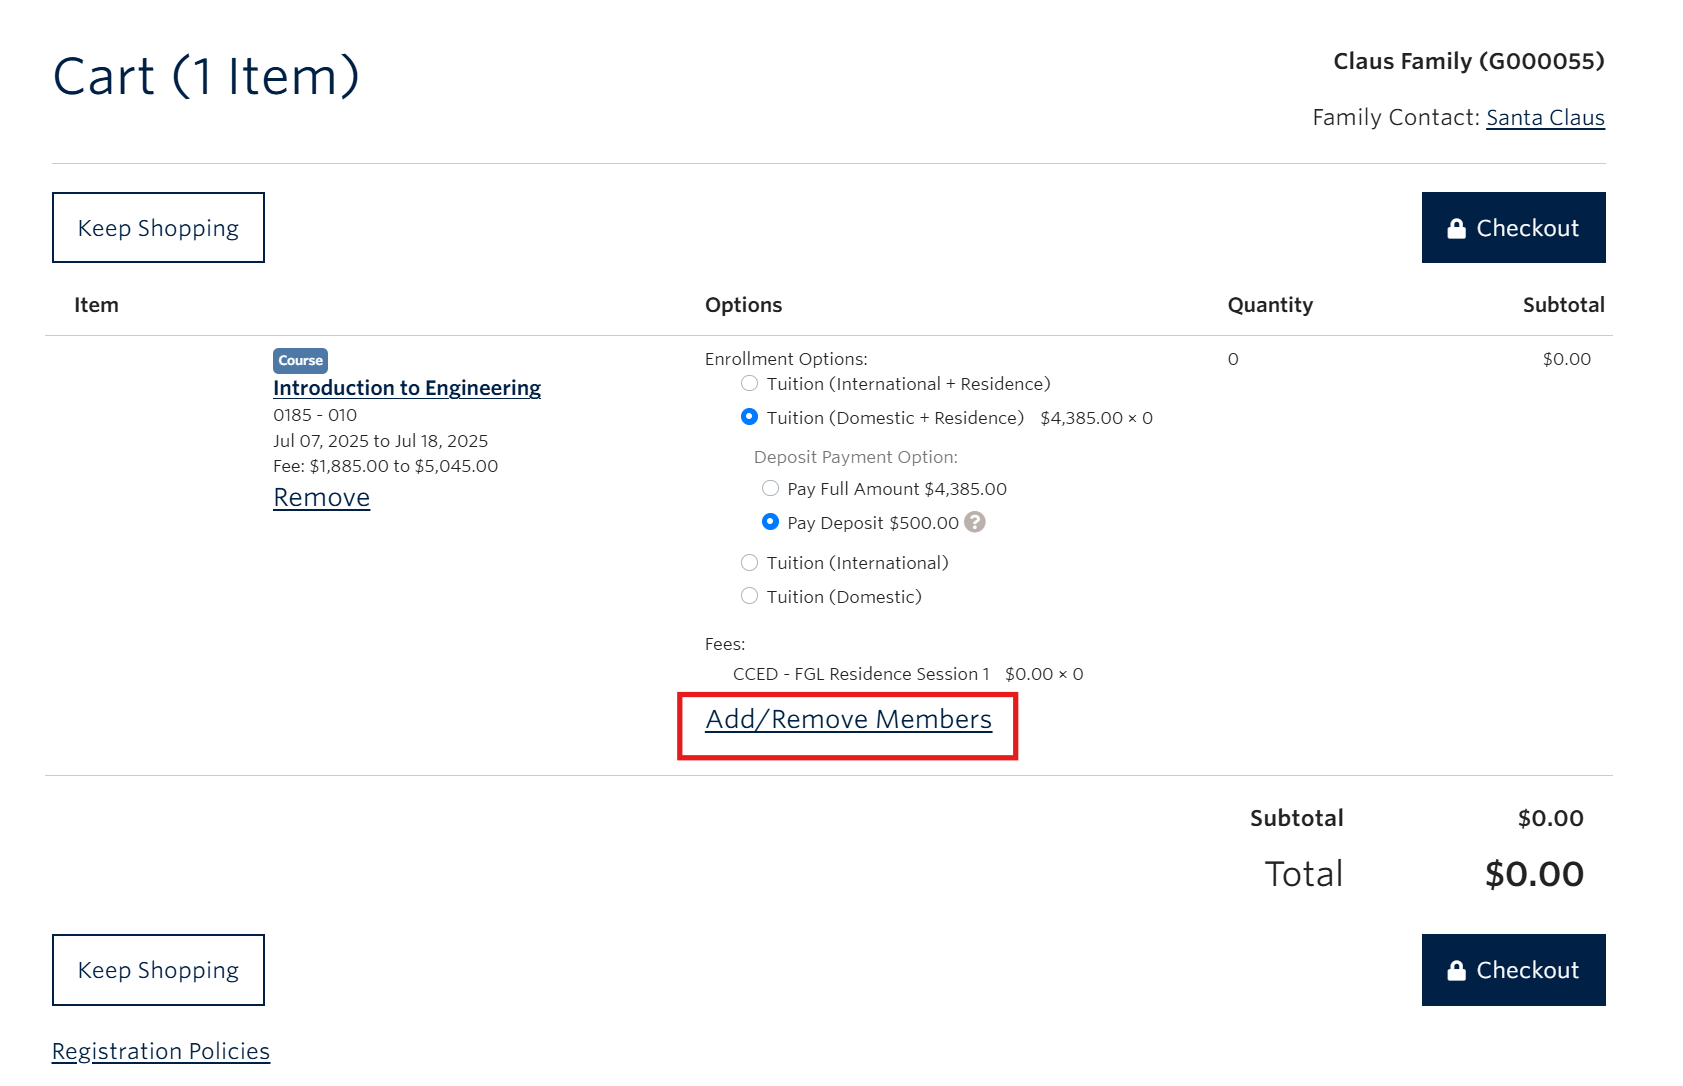
- Under Enrolment Options, select the applicable options. If the student plans to commute to campus, select the Course or Mini School Only option. The Canadian option is for Canadian citizens and permanent residents. You can pay in full or pay a $500 CAD deposit. Note: Full payment is due by May 1, 2026. Registrations on or after May 1, 2026 must be paid in full at the time of registration. Click ‘Checkout’ to continue.
-
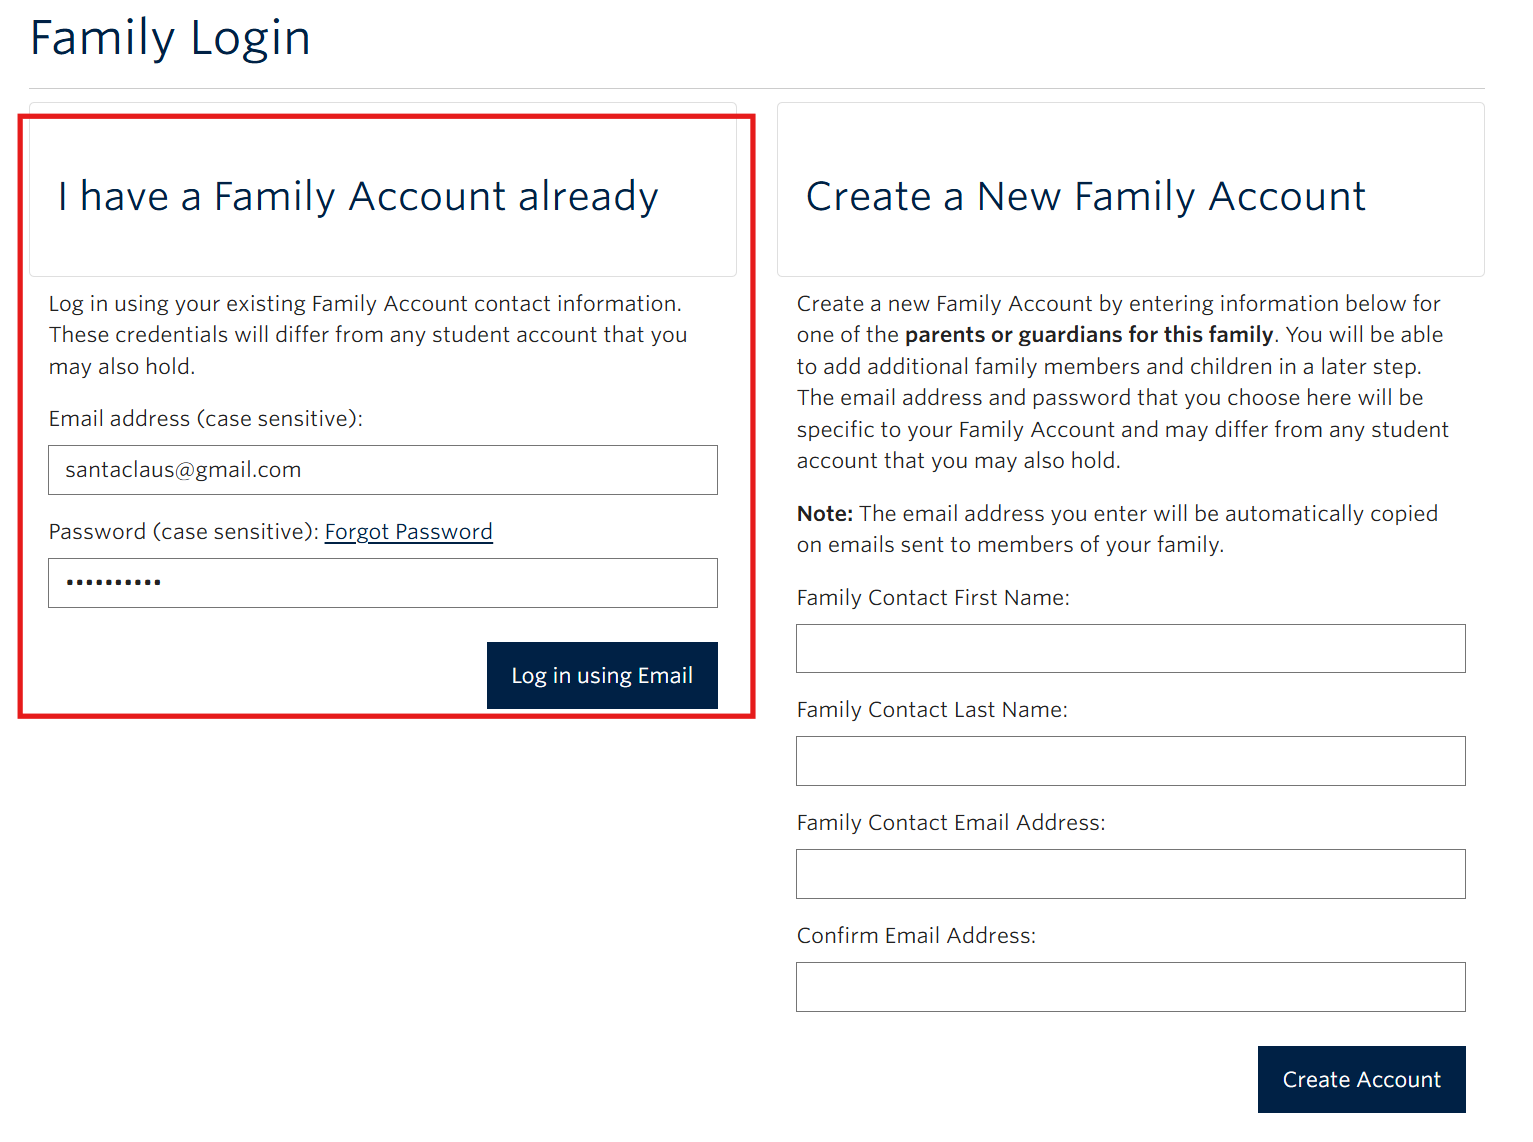
Log in with your Family Account. If you do not have one yet, create a Family Account and add your child as a family member. You need a Family Account with the child added as a family member to register.
- In the cart, click ‘Add/Remove Members’ to add the student to the course.
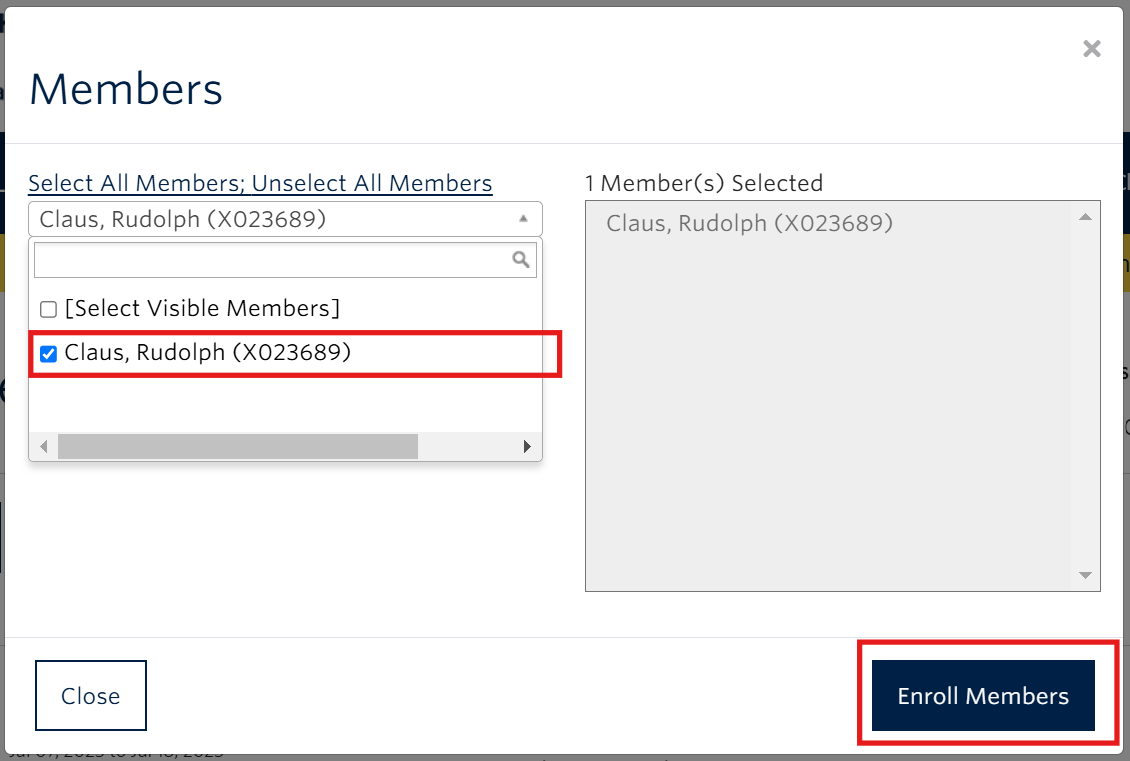
- Select the child you are enrolling and click ‘Enrol Members’, then click ‘Checkout’.
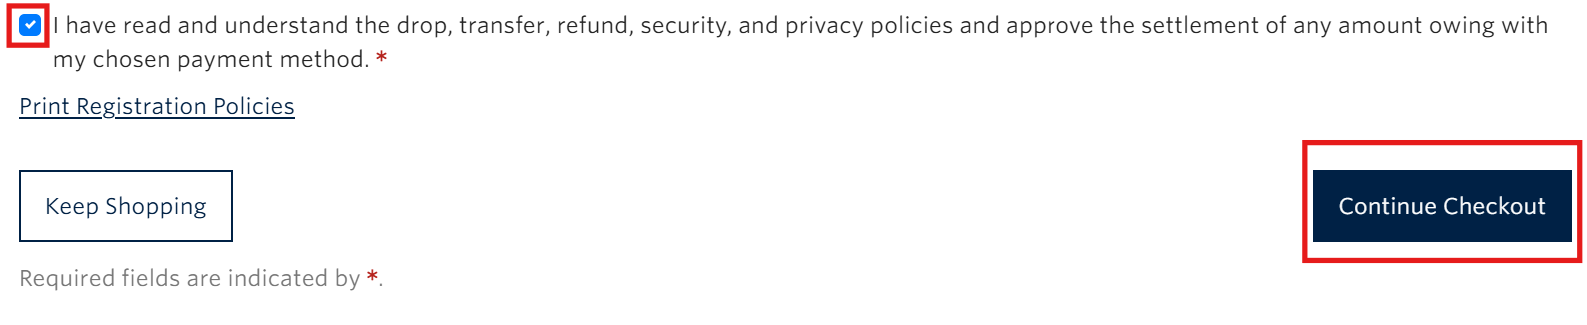
- Review the withdrawal and refund policy and select the checkbox at the bottom of the page, then click ‘Continue Checkout’.
- Enter your credit card details and billing address. Click ‘Continue’ at the bottom of the page to process your payment.
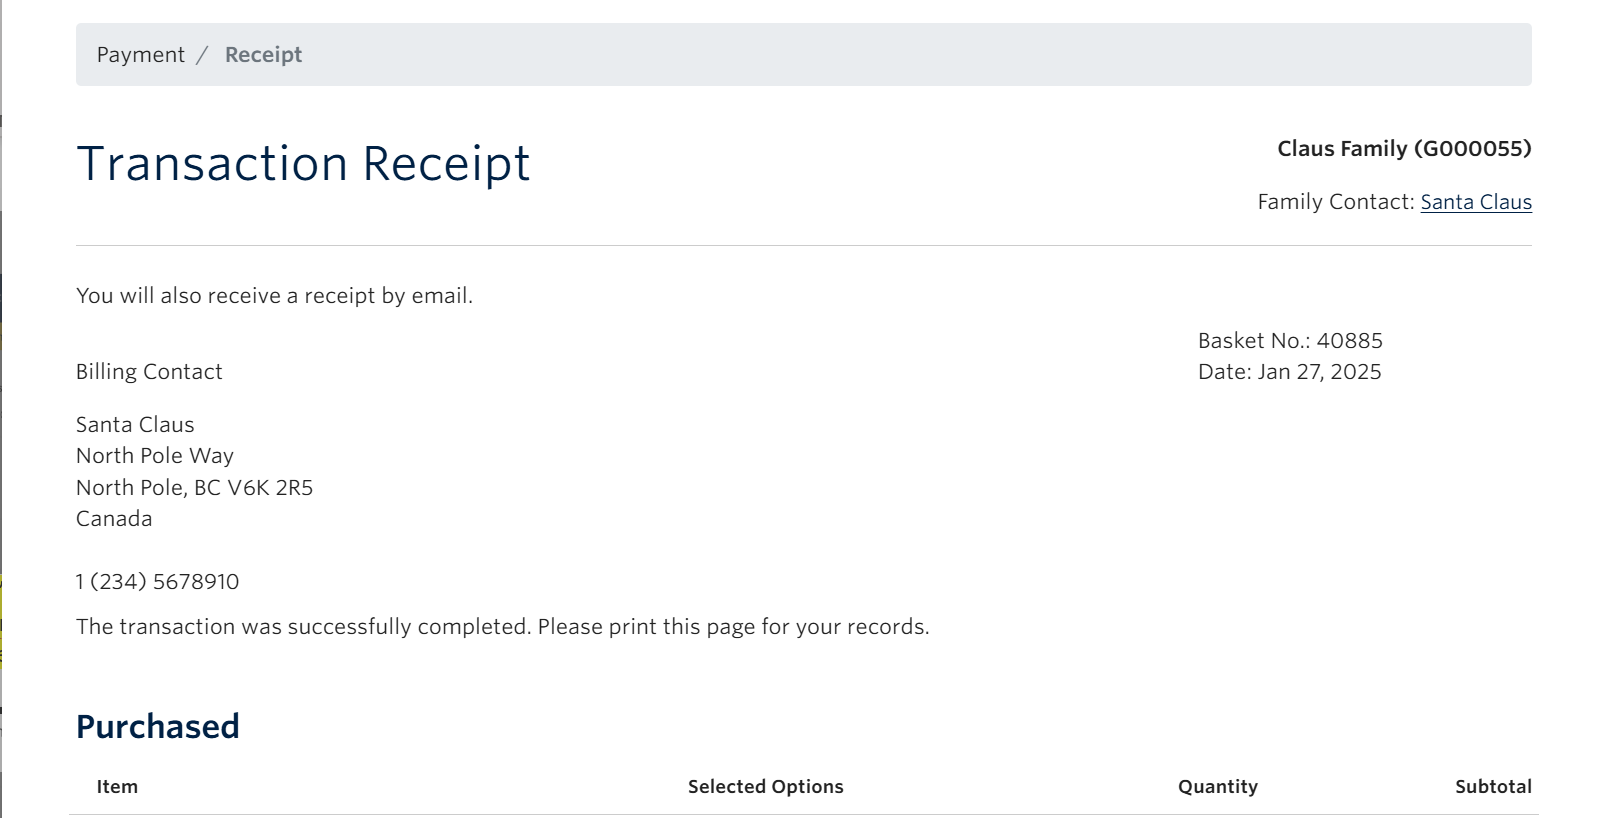
- You’ll see a ‘Transaction Receipt’ with the details of the successful registration.
Part two: Fill out the information package
The student’s spot in the program will not be confirmed until the completed information package has been submitted. The information package must be completed within 48 hours of registration.
- Log in to the Family Account. Please note: the information package can only be accessed from the Family Account in the Family Portal.
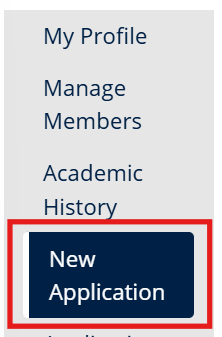
- Select ‘New Application’ on the menu on the left side of the page.
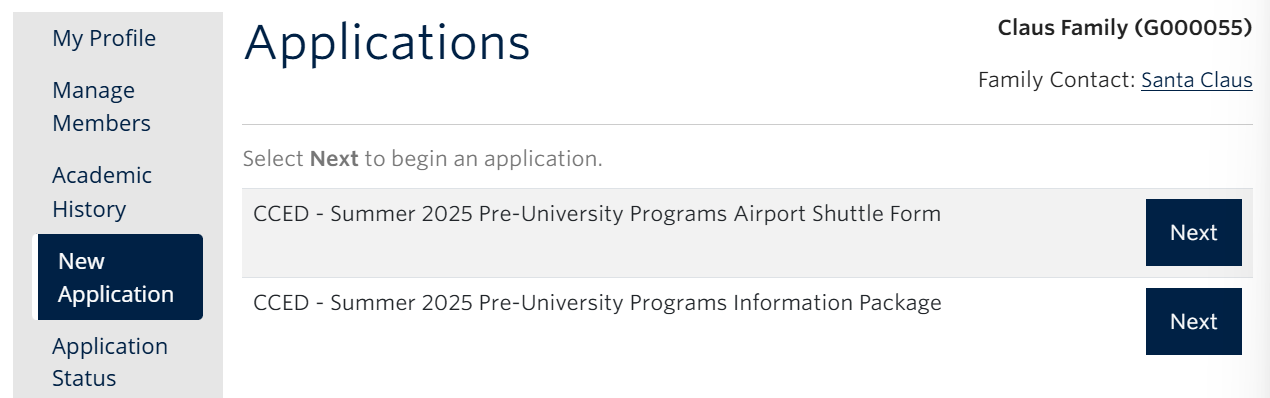
- Click ‘Next’ to start the application.
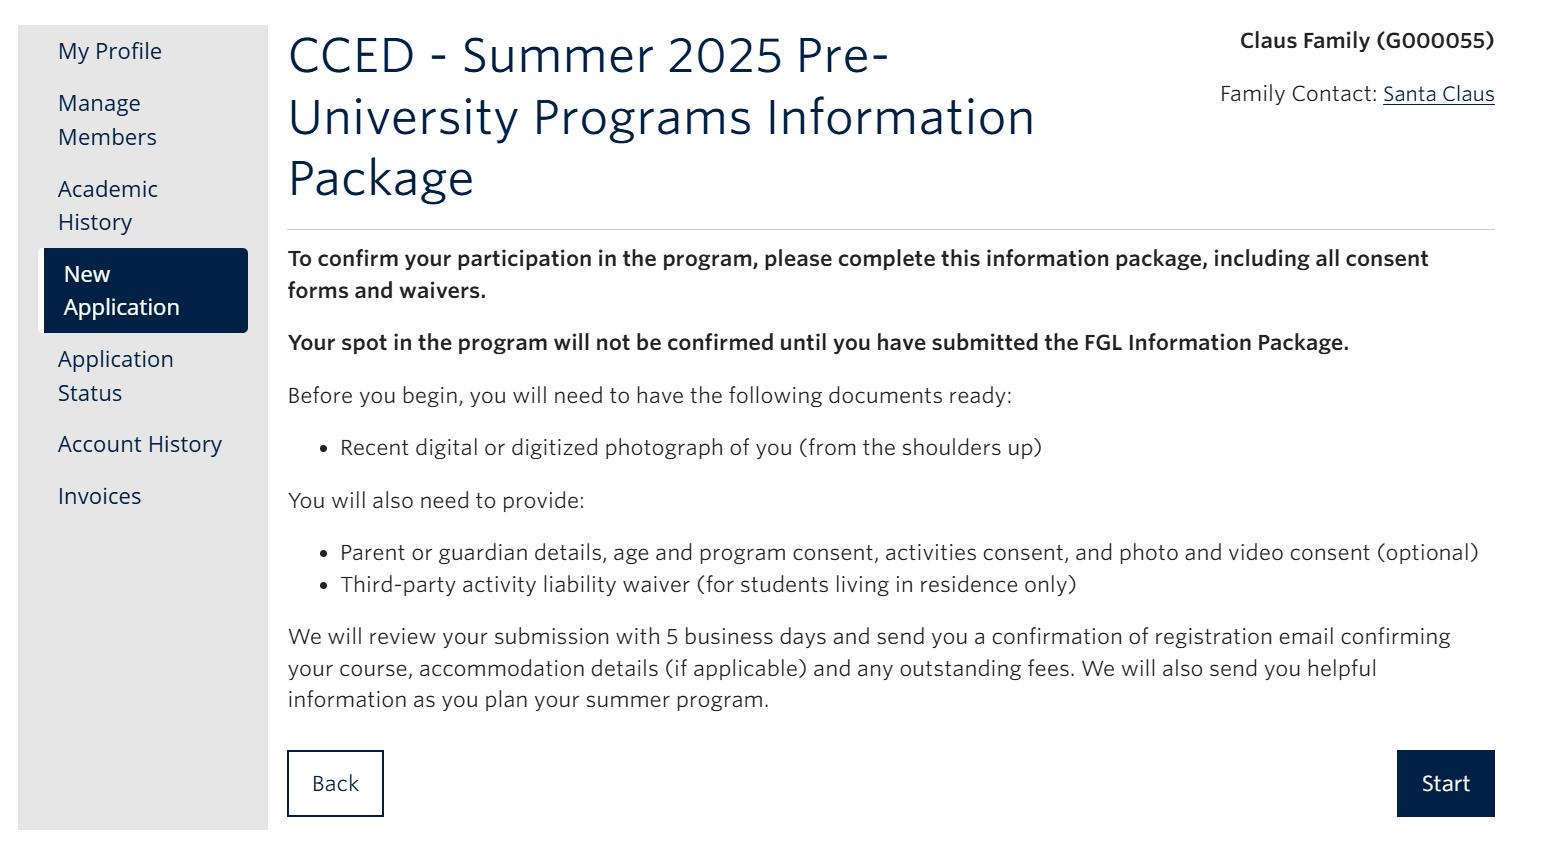
- Review the instructions and click ‘Start’.
- Click ‘Start’ next to the child you are completing the information package for.

- Review the instructions on the Application Homepage and click ‘Start.

- Fill out the information package. You may partially complete the information package and return to it within your Family Account.
- Once you have completed the information package, click ‘Submit Application’.

- The parent/guardian will receive a confirmation of registration that includes:
- Your course selection
- Accommodation details (if you choose the residence option)
- Information you need to book travel and plan your summer
If you are applying for a visa, the confirmation of registration can be used to support your application.
Part three: Set up the student Campus-wide Login (CWL)
What is a Campus-wide Login (CWL)? A CWL is the student’s UBC online identity—it gives students access to important materials prior to and during the program with a single username and password. The student participating in the UBC Future Global Leaders on-campus program needs to set up a Campus-wide Login (CWL).
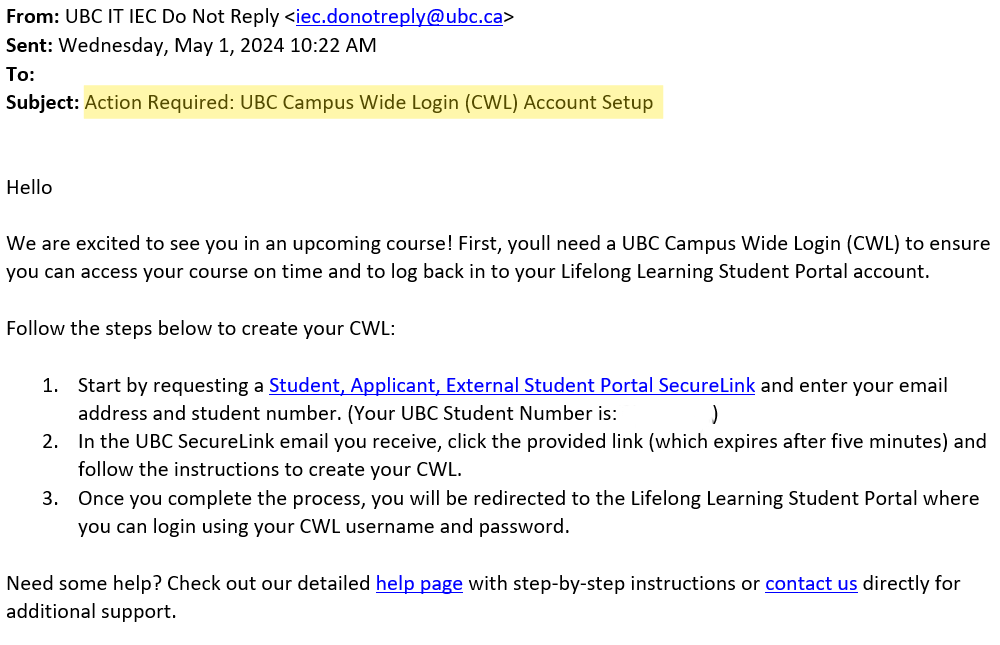
Once the parent/guardian has completed the checkout process, the student will receive an email titled Action Required: UBC Campus-wide Login (CWL) Account Setup from info[AT]lifelonglearning.svc.ubc.ca. The student should follow the instructions in the email, or use the step-by-step instructions below.
How to get help:
- If the CWL Account Setup email hasn’t arrived after 24 hours: Email info.exl@ubc.ca with the subject “FGL Student – Not Received CWL Creation Email”.
- If there’s an issue setting up your CWL: Email info.exl@ubc.ca with the subject “FGL Student – CWL creation issue”. Include screenshots and a detailed description of the issue(s).
How to set up the student’s CWL
- In the email, click the link to request a Student, Applicant, External Student Portal SecureLink.
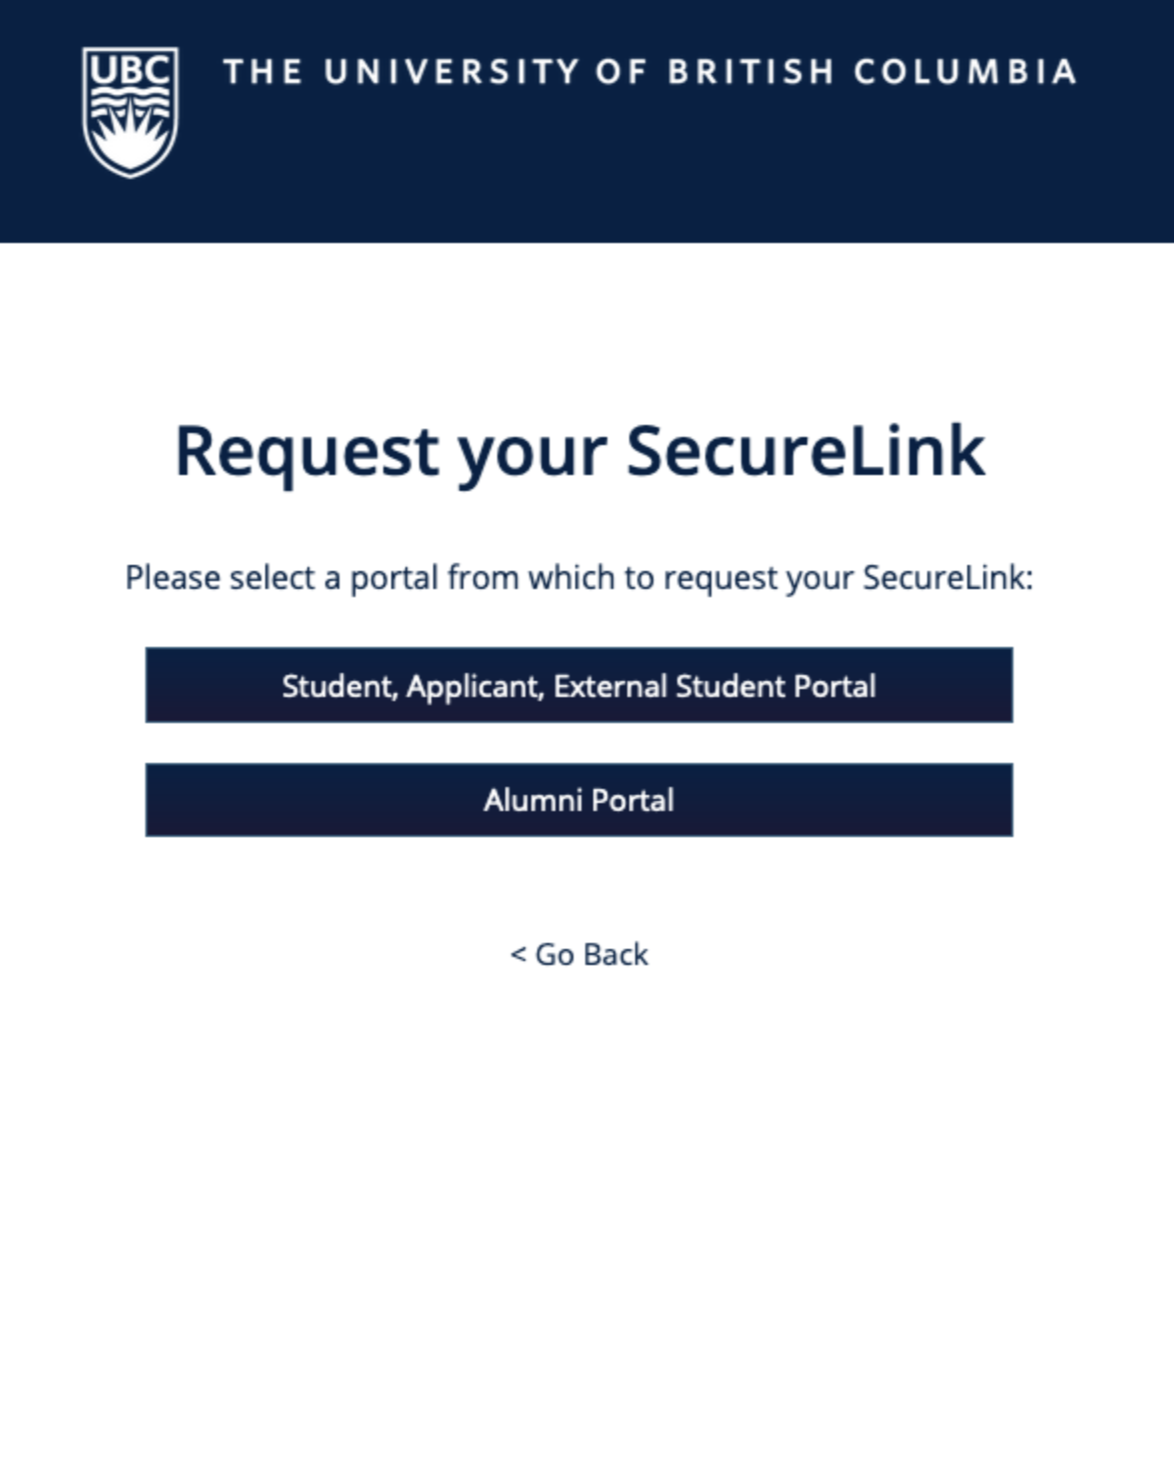
On the webpage, request your SecureLink by clicking ‘Student Applicant, External Student Portal’.
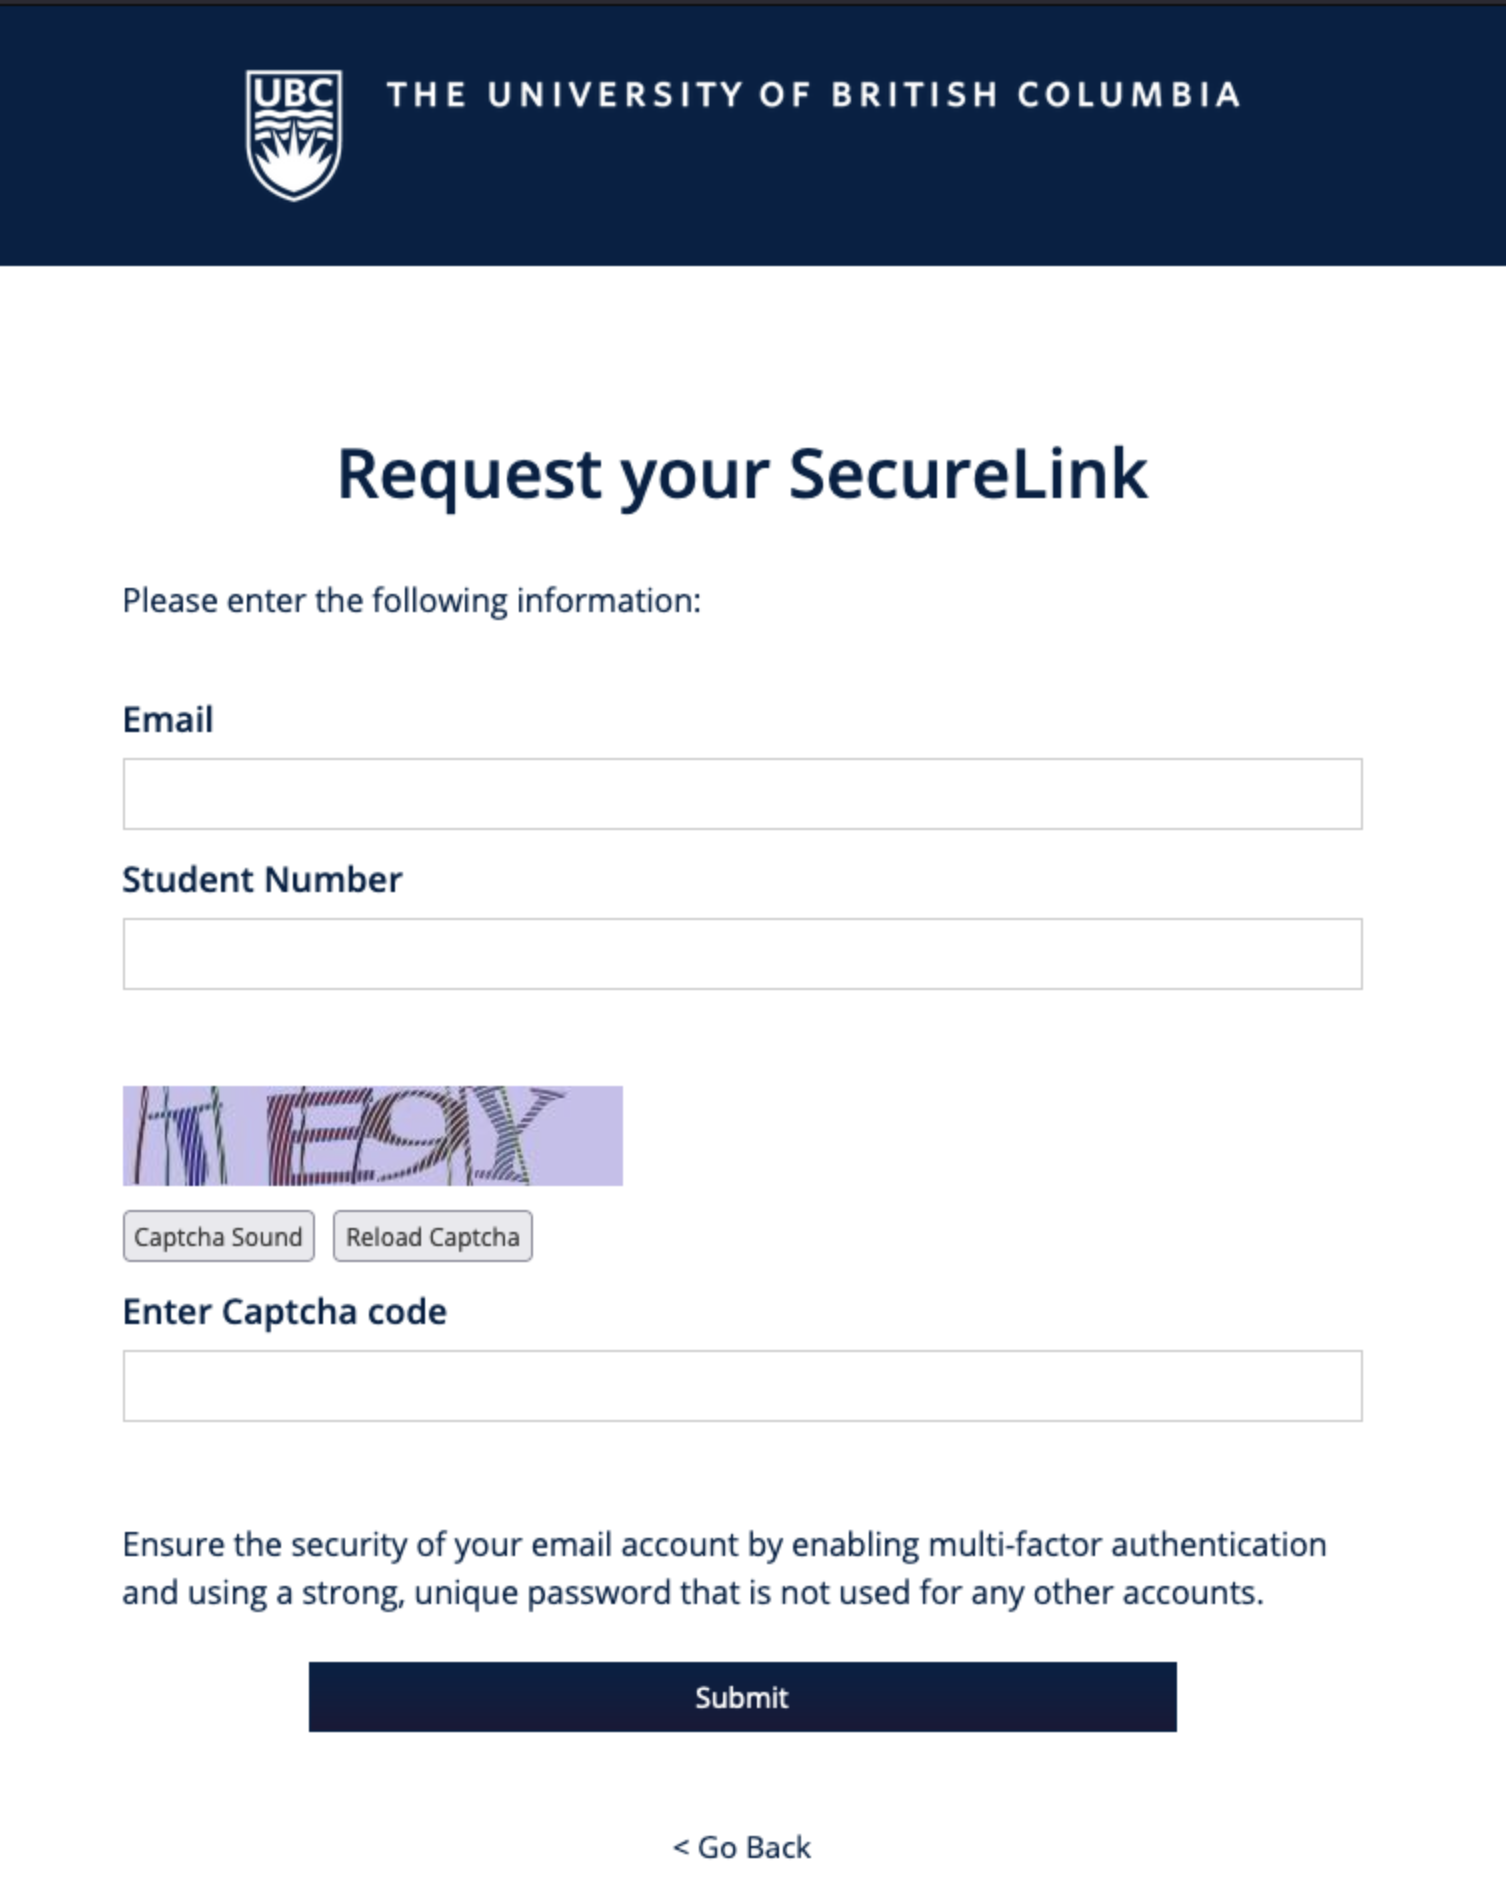
On the following page, enter the student email address and student number provided in the email titled ‘Action Required….’. Click the ‘Submit’ button once the relevant information has been entered.
-
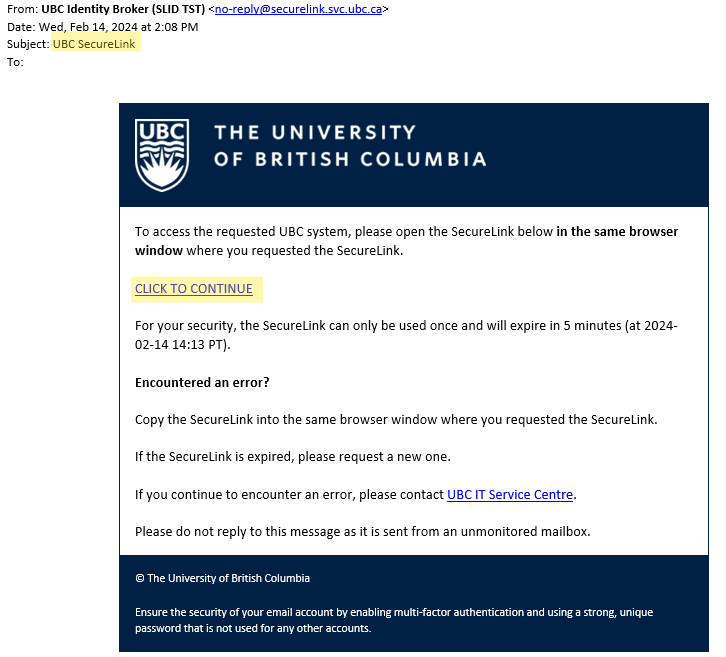
Once the Once the student has entered the relevant information, they will receive another email titled UBC SecureLink. The student will receive an email titled UBC SecureLink. Check the inbox and spam folder. Open the link within five minutes. If the link expires, repeat Step 1. Use the SecureLink to create the CWL username and password.
Follow the instructions on the CWL Account Creation page to create a CWL username and password. Important notes:
- You will need to remember your CWL username and password.
- The account recovery email should be the student's email address and not the parent/guardian’s.
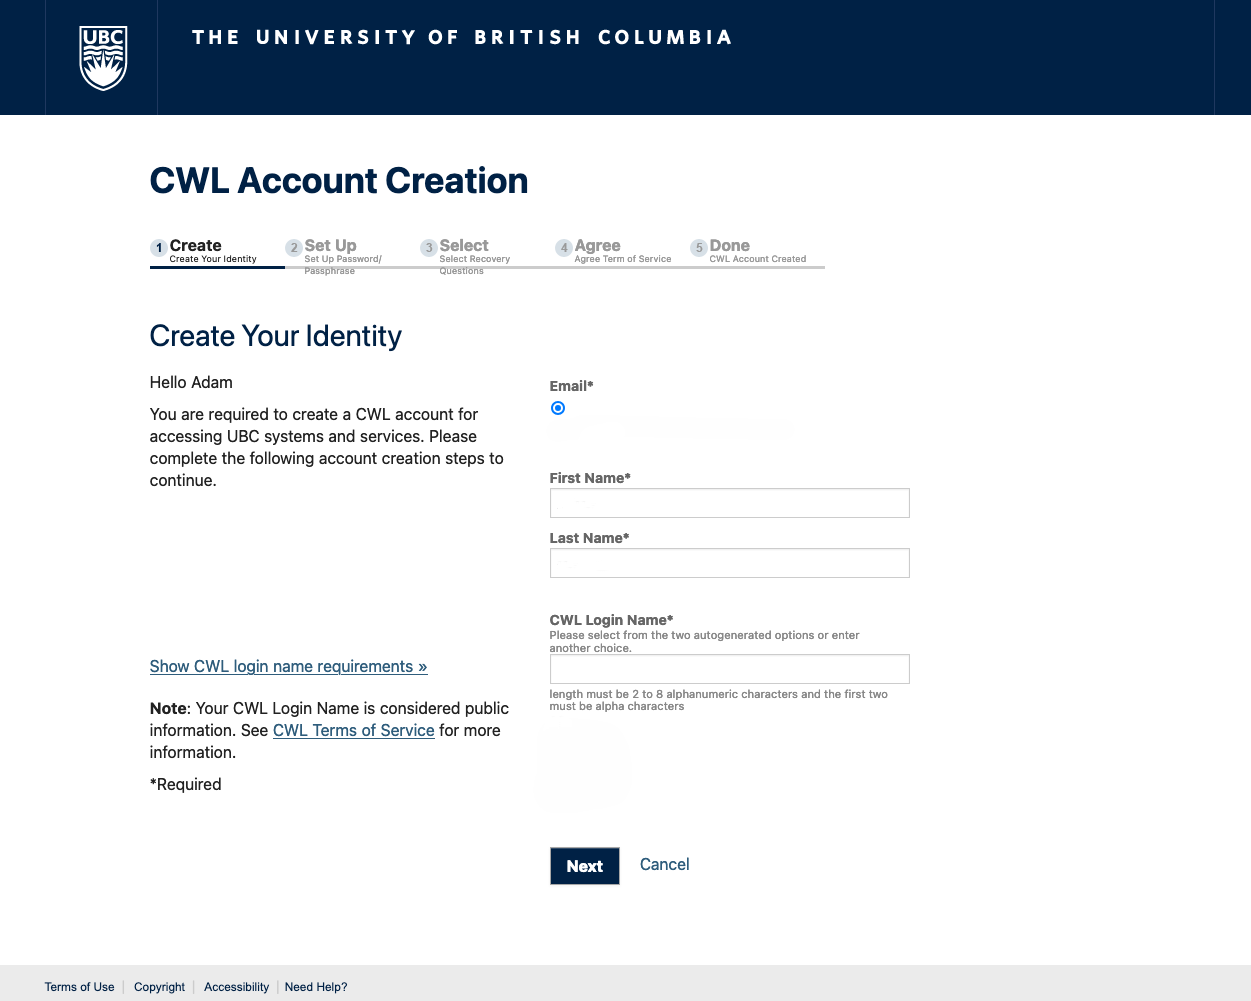
The last page in the process will confirm the CWL account creation.
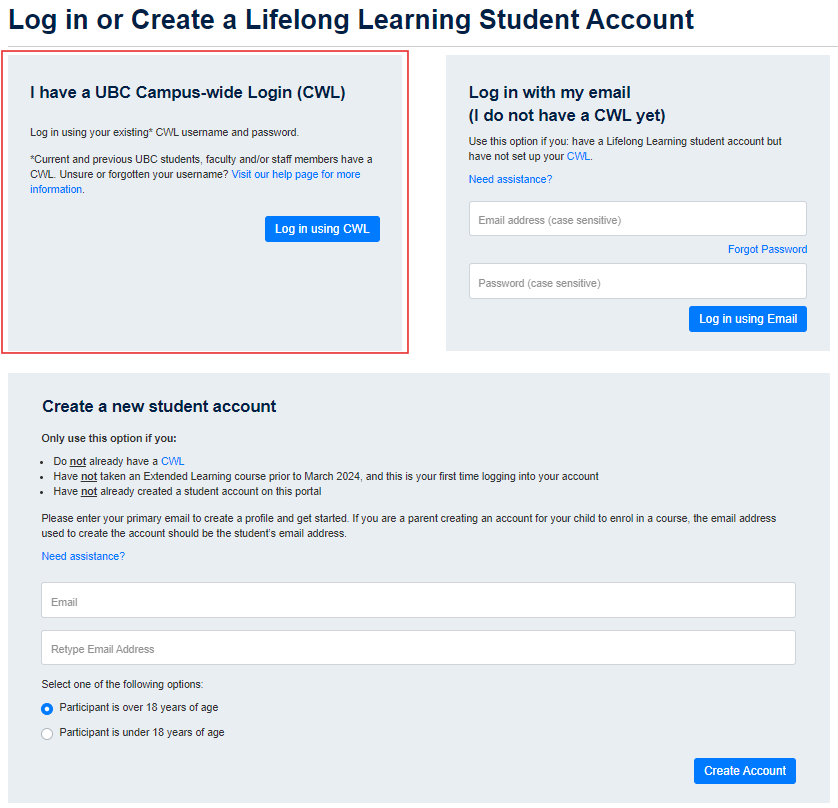
- Using their newly created CWL username and password, the student needs to log in to their Student Account in the Lifelong Learning Student Portal to finalize their CWL. On the login page, use ‘Option 1: I have a UBC Campus-wide Login (CWL)’.
Reminder: The Student Account is separate from a Family Account, but it is connected to your family group when you add the child as a family member. Your child will log in to their Student Account via the student portal login page. They will not be able to log in to the parental/guardian Family Account with their student account credentials.
Once the child has logged in to their Student Account, they have completed the CWL creation process.
Part four: how to pay your remaining balance
Full payment is due on or before May 1 or upon registration after May 1.
Below are instructions on how to pay the balance owing on your UBC Future Global Leaders course or mini school.
- Log in to the Family Portal with your Family Account.

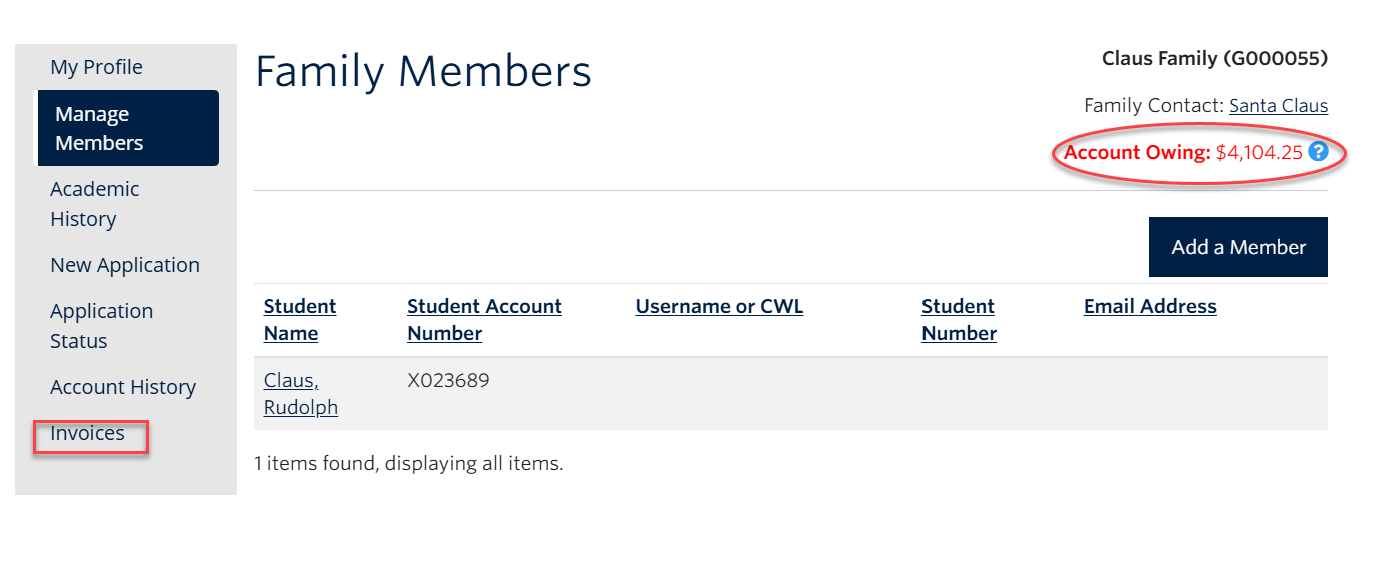
- On the Family Portal Home Page, you will see the balance owing on the top right-hand side of the screen. From the menu on the left side of the screen, select ‘Invoices’.
- Select the invoice you’d like to pay and click ‘Pay Selected Invoices’.
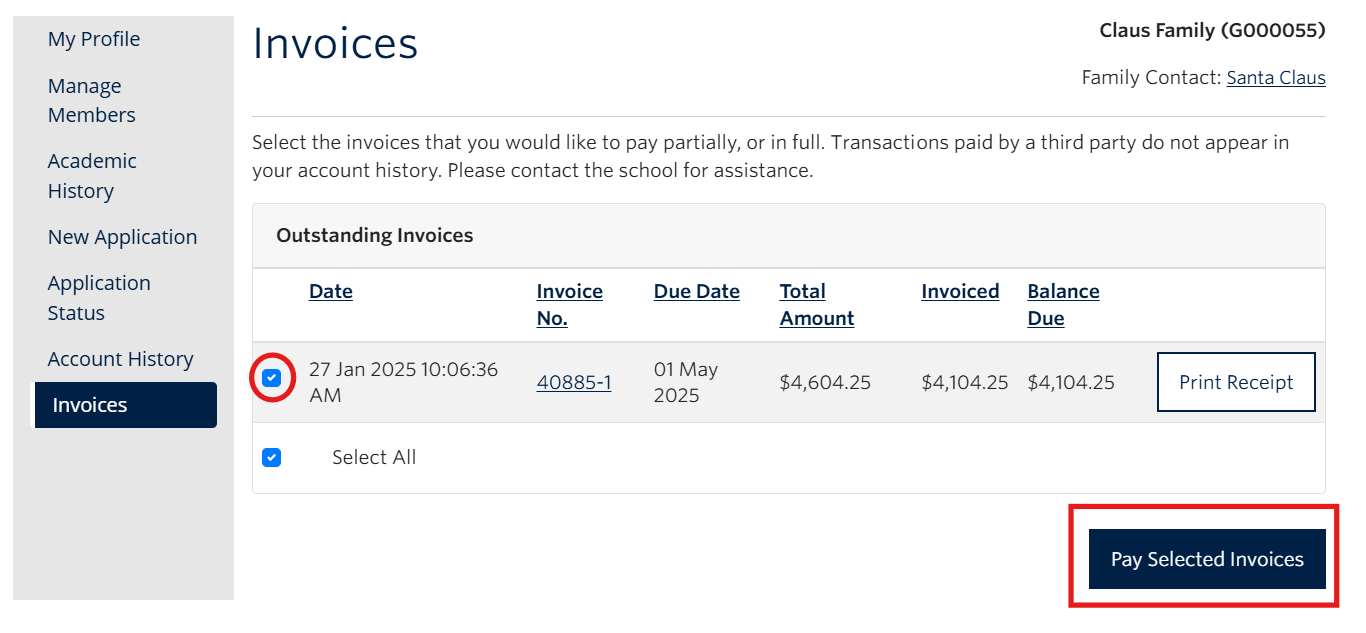
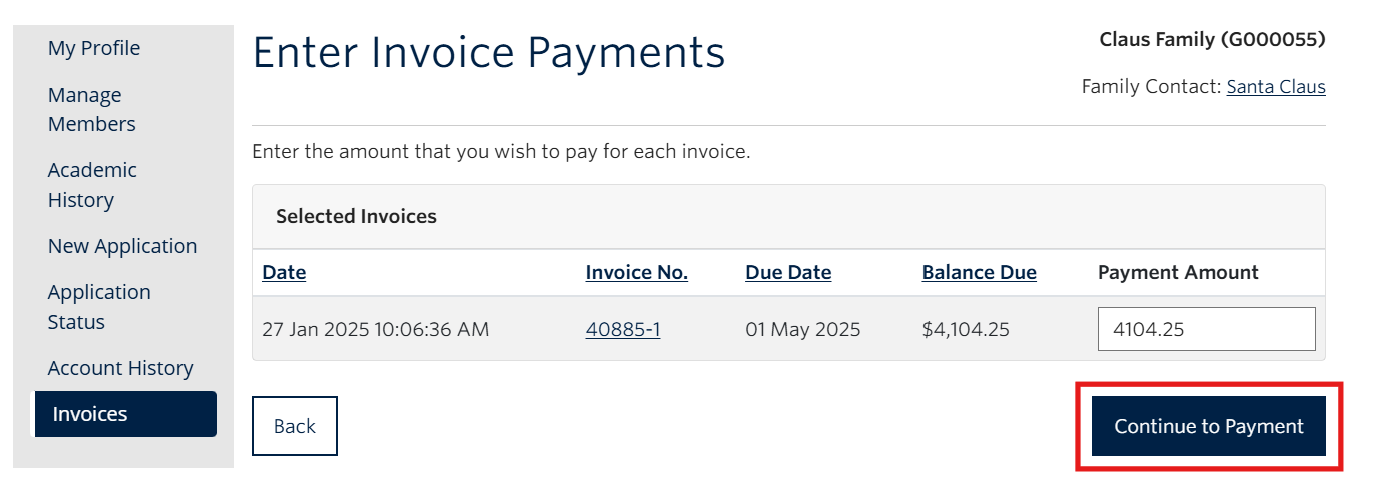
- You can adjust the amount to pay. If you’d like to pay the full amount, do not make any changes and click ‘Continue to Payment’.
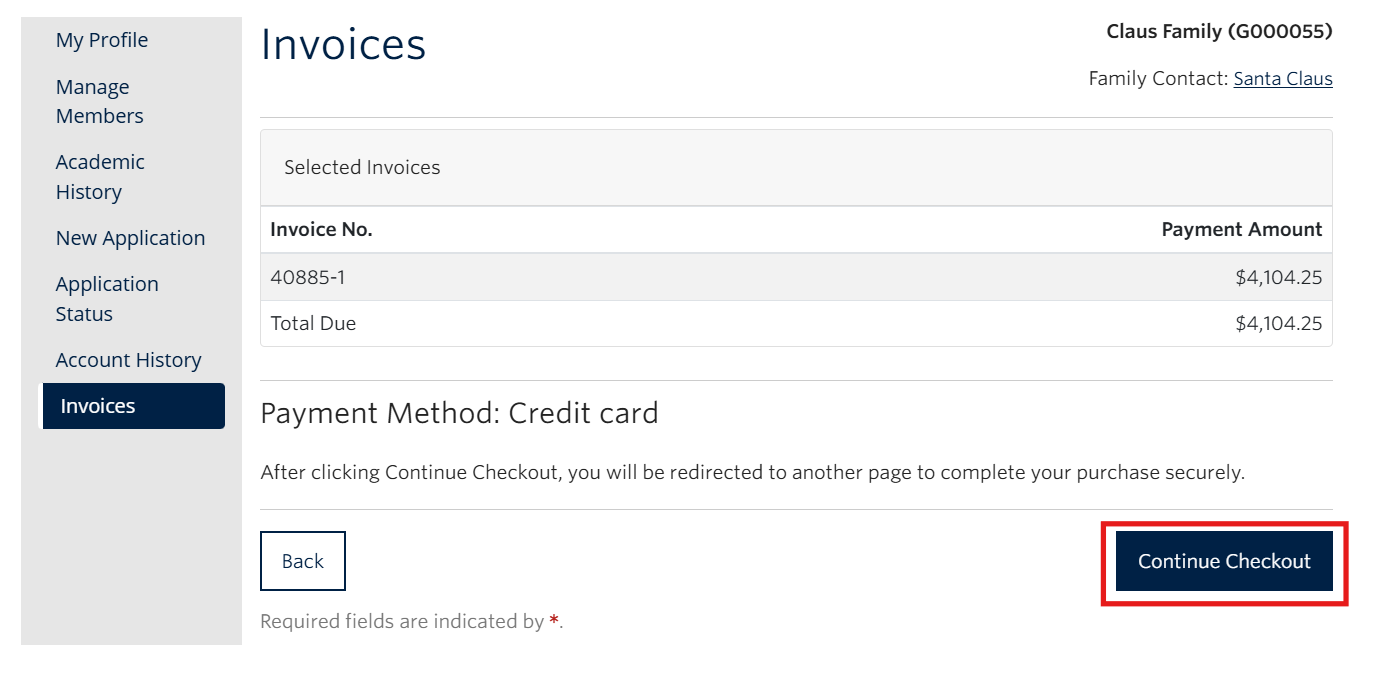
- Click ‘Continue Checkout’.
- Enter your credit card details and billing address on the secure payment page. Click ‘Continue’.
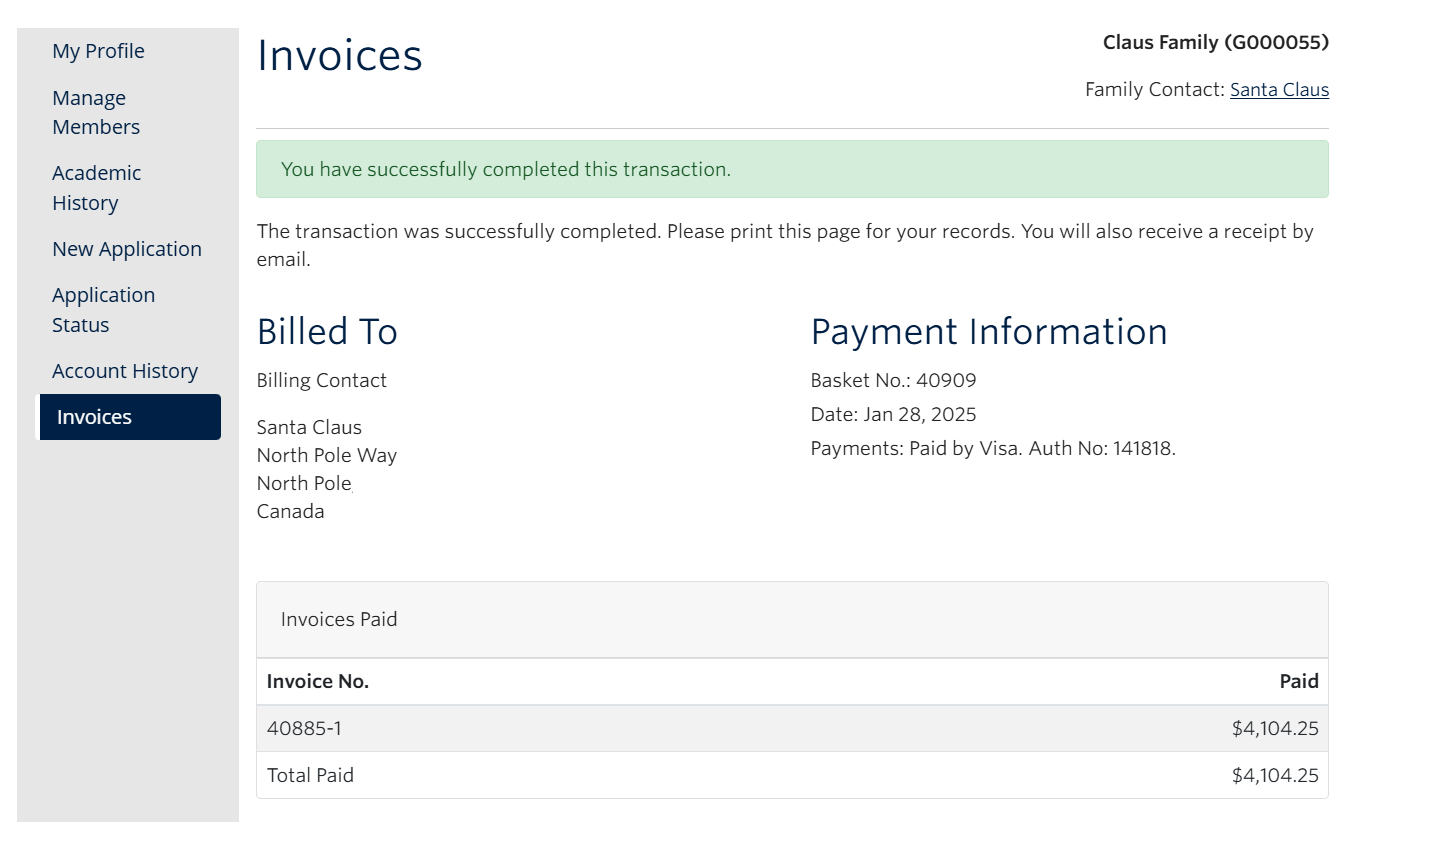
- Once your payment has gone through successfully, you’ll see the Invoice Payment Receipt page with your payment information and the amount paid to the invoice. A receipt will also be emailed to you.